

As Windows 10 has dominated the OS world with the most active Windows installations in very short period as Microsoft offered free upgrade to all eligible Windows and earlier there were Insider builds to test and shape the product to Final stage.
You must have installed Windows 10. You can follow our blog for new builds in Windows Insider.
However, if you are not using Windows 10 at this time, you have Windows 8 or Windows 8.1 device with you.
Or you might be using a Windows Phone, it might be a XBox device to play games.
Today, we will learn how to change gamertag (User Name) which is visible to all games across XBox network based on your privacy setting.
The XBox uses Microsoft Account for login, however, assigns a gamertag which is similar to nick name or username that will be displayed to other user while sending game request.
Without wasting further time, lets move ahead to change procedure.

1: Search on Start menu and locate XBox and open XBox.

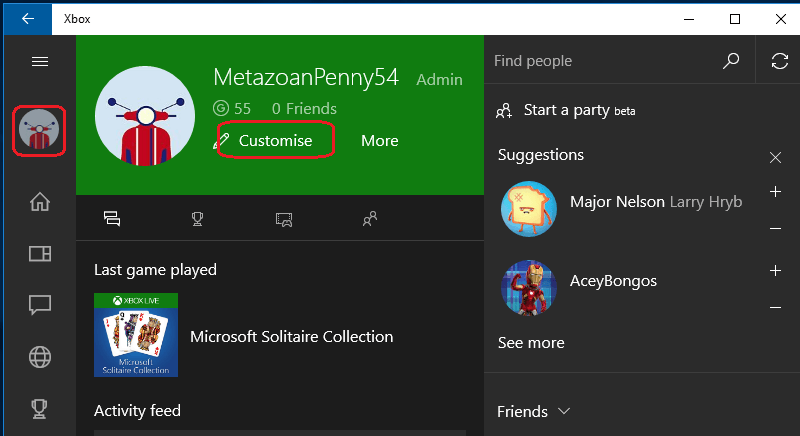
2: Now click on Profile button on left top and click on Customize link.

3: You will now get customize page of your account.
4: You will be followed by a screen which will help you choose from suggestions or type your own gamertag.

You can either choose from available ideas or you can type and claim the new gamertag if it is available.

Step 5: Just click on Claim it.
Here you go, you have new XBox gamertag which will be updated across all your devices.